Maintaining a well-maintained guitar is a must for any guitarist. You can keep your guitar in tune, improve its tone, and lengthen its lifespan with regular maintenance. While there are times when it’s best to have a pro work on your guitar, many common repairs are simple enough that you can make them yourself with common household items. Here are some of the top guitar maintenance tips for beginners with DIY techniques.
Table of Contents
Change the Strings
You’ll want to change your strings regularly to keep your guitar sounding its best. How often depends on how much you play, but every 1-3 months is a good rule of thumb. Old strings start to oxidize and lose their brightness. They also stretch out over time and won’t stay in tune as well. It’s easy to change strings yourself at home. You’ll need a string winder, wire cutters, and extra strings. Always change one string at a time to maintain tension on the neck. Remove the old string, clean the fretboard, and apply lubricant if needed. Then install the new string, tune it to pitch, and stretch it out 2-3 times. Snip off any excess string length once tuned.
Adjust the Truss Rod
The truss rod inside your guitar neck needs periodic adjustment to compensate for string tension and changes in humidity or temperature. If you start to notice buzzing frets, poor action, or tuning issues, the truss rod likely needs adjustment. First, determine if the neck is too straight or has too much relief. Then using a truss rod wrench, tighten or loosen the rod accordingly. Turning clockwise will tighten the rod and add more concave relief, while turning counter-clockwise loosens. Go slowly in quarter turns, allowing the neck wood to settle before making further adjustments. Be careful not to over-tighten.
Polish Frets and Fretboard

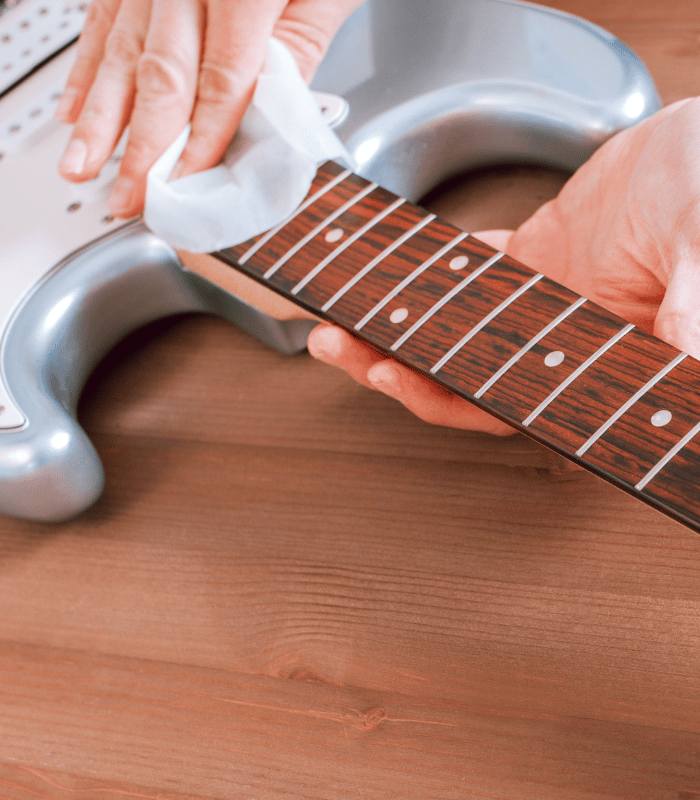
Polishing your frets and rosewood or ebony fretboard helps prevent grime buildup and keeps them smooth. Use very fine-grit sandpaper (1000 grit or higher) and gently smooth along the fret edges and over the board. Avoid scraping too aggressively near the fret ends. After sanding, use lemon oil fretboard cleaner applied with a cloth to condition the wood and give it a nice low sheen. Regular polishing helps keep frets level and playing comfortable.
Clean and Lubricate Tuning Machines
It’s important to keep tuning machines and tuner posts clean of grime, which can cause slipping and poor tuning stability. Remove any excess string on the posts and use a small brush or cotton swab dipped in rubbing alcohol to scrub the posts and metal housing. Then apply lubricant, such as sewing machine oil or guitar tuner fluid, sparingly to the gears and posts. Turn the posts to work in the lubricant without over-saturating. This regular cleaning and lubrication will help tune stability.
Adjust Intonation

Proper intonation makes sure each note up the neck is in tune relative to the 12th fret harmonic. Notes that fret sharp or flat can be fixed by adjusting the guitar’s bridge saddles. Use a precision tuner and compare fretted notes to harmonics at the 12th fret. If the fretted note is sharp, lengthen the string by moving the saddle away from the neck. If it’s flat, shorten the string by moving the saddle towards the neck. Make adjustments for each string until intonation is accurate. This may take several gradual tweaks. Be sure to re-tune each time.
Inspect Electronics
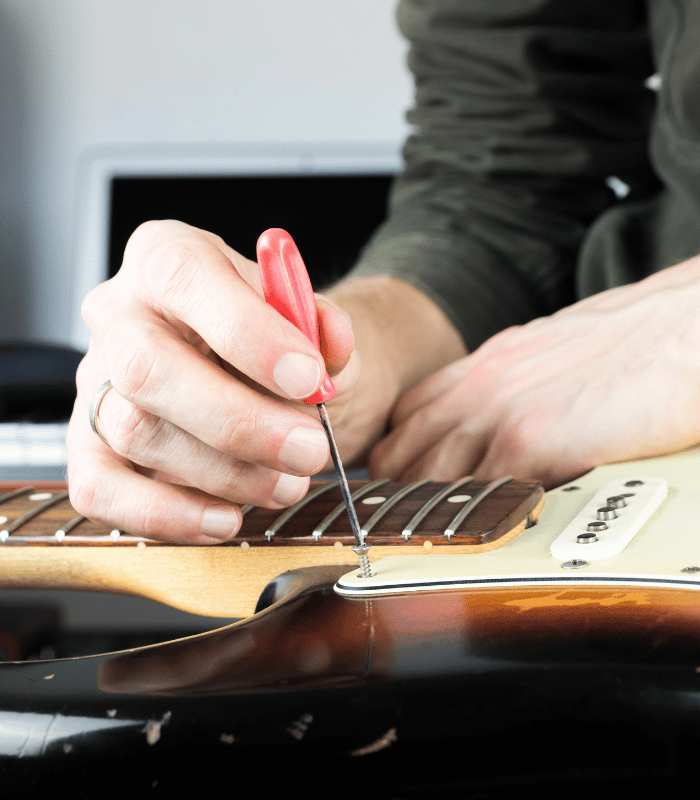
It’s a good idea to periodically remove the electronic cover plates on your guitar and inspect the wiring, pots, pickups, switches, and solder joints. Look for any loose connections, damaged insulation, drops of mystery liquid, or other issues. If you spot any problems, bring the guitar to a qualified repair technician. Caution: only do basic inspections, and don’t mess with wiring you don’t understand. While inside, you can clean up any dust or grime using compressed air. Lubricate volume and tone pot shafts with an electronic contact cleaner.

Check for Cracks and Warps
Carefully inspect your guitar’s body and neck for any cracks, warps, or other damage that may affect tone or playability. Check the finish for nicks or wear spots that expose wood. Peer down the neck to be sure it maintains a straight alignment without bowing or twisting. Examine the body and neck joints for any gaps or detached glue. Also look for any protruding frets, lifting fret edges, or sloping fret tops. Address any issues promptly to prevent bigger problems. Minor finish flaws can be touched up yourself, but take more serious structural damage to a pro.
ALSO READ:
Best Acoustic Guitar Under $200
Ultimate Guide to Guitar Gear
Humidify and Control Climate
Wood guitars are very sensitive to climate conditions and can warp, crack, or even delaminate if too dry or humid. Use a hygrometer to monitor the humidity levels in your home, and try to keep your guitar room around 45–55%. During the dry winter months, use a room or case humidifier and moisten the air. In more humid climates, use AC and dehumidifiers to remove excess moisture. Storing your guitar in the case also helps regulate humidity exposure. The goal is consistency to prevent the wood from rapidly shrinking and swelling.
Deep Cleaning and Polishing
Every year or two, it’s good to do a deep cleaning and polishing of your guitar’s finish. Remove all strings and electronics to access the full surface. Clean smudges and grime using a mild cleaner like Murphy Oil Soap or guitar polish wipes. Avoid using water, which can penetrate the wood. Polish your finish using a lint-free microfiber cloth. Lightly rub in a small amount of plastic or auto-polish uniformly over the surface. Buff vigorously with a fresh microfiber to bring out a glassy shine. This restores clarity and luster to your guitar’s look and prevents oxidation.
Know When to Go Pro
While the above tips will serve you well, also recognize that there are some maintenance tasks best left to professionals. To prevent damage or safety issues, an experienced repair tech should handle anything beyond basic electronics, finish touchups, and setup tweaks. It’s also smart to get yearly maintenance checkups to catch any developing problems early. Investing a little in quality professional care goes a long way toward keeping your guitar playing like new for years to come.
Following these DIY tips will help ensure your instrument stays in top playing condition and lasts for many years. But most importantly, remember to just play and enjoy your guitar! Proper care will become second nature. With a little regular attention, your trusty six-string will provide tons of great music and memories. Any experienced guitarist knows that TLC for your instrument pays off big time in the long run.
How often do I need to change my guitar strings?
This depends on how often you play and how hard you strum. A good rule of thumb is to change them every 1-3 months. If your strings are starting to sound dull or lose their tone, it’s time for a change.
How do I know if my truss rod needs adjustment?
There are a few signs that your truss rod may need adjustment, such as buzzing frets, poor action, and tuning issues.


